Prepare Daylilies for a Spring through Summer Show
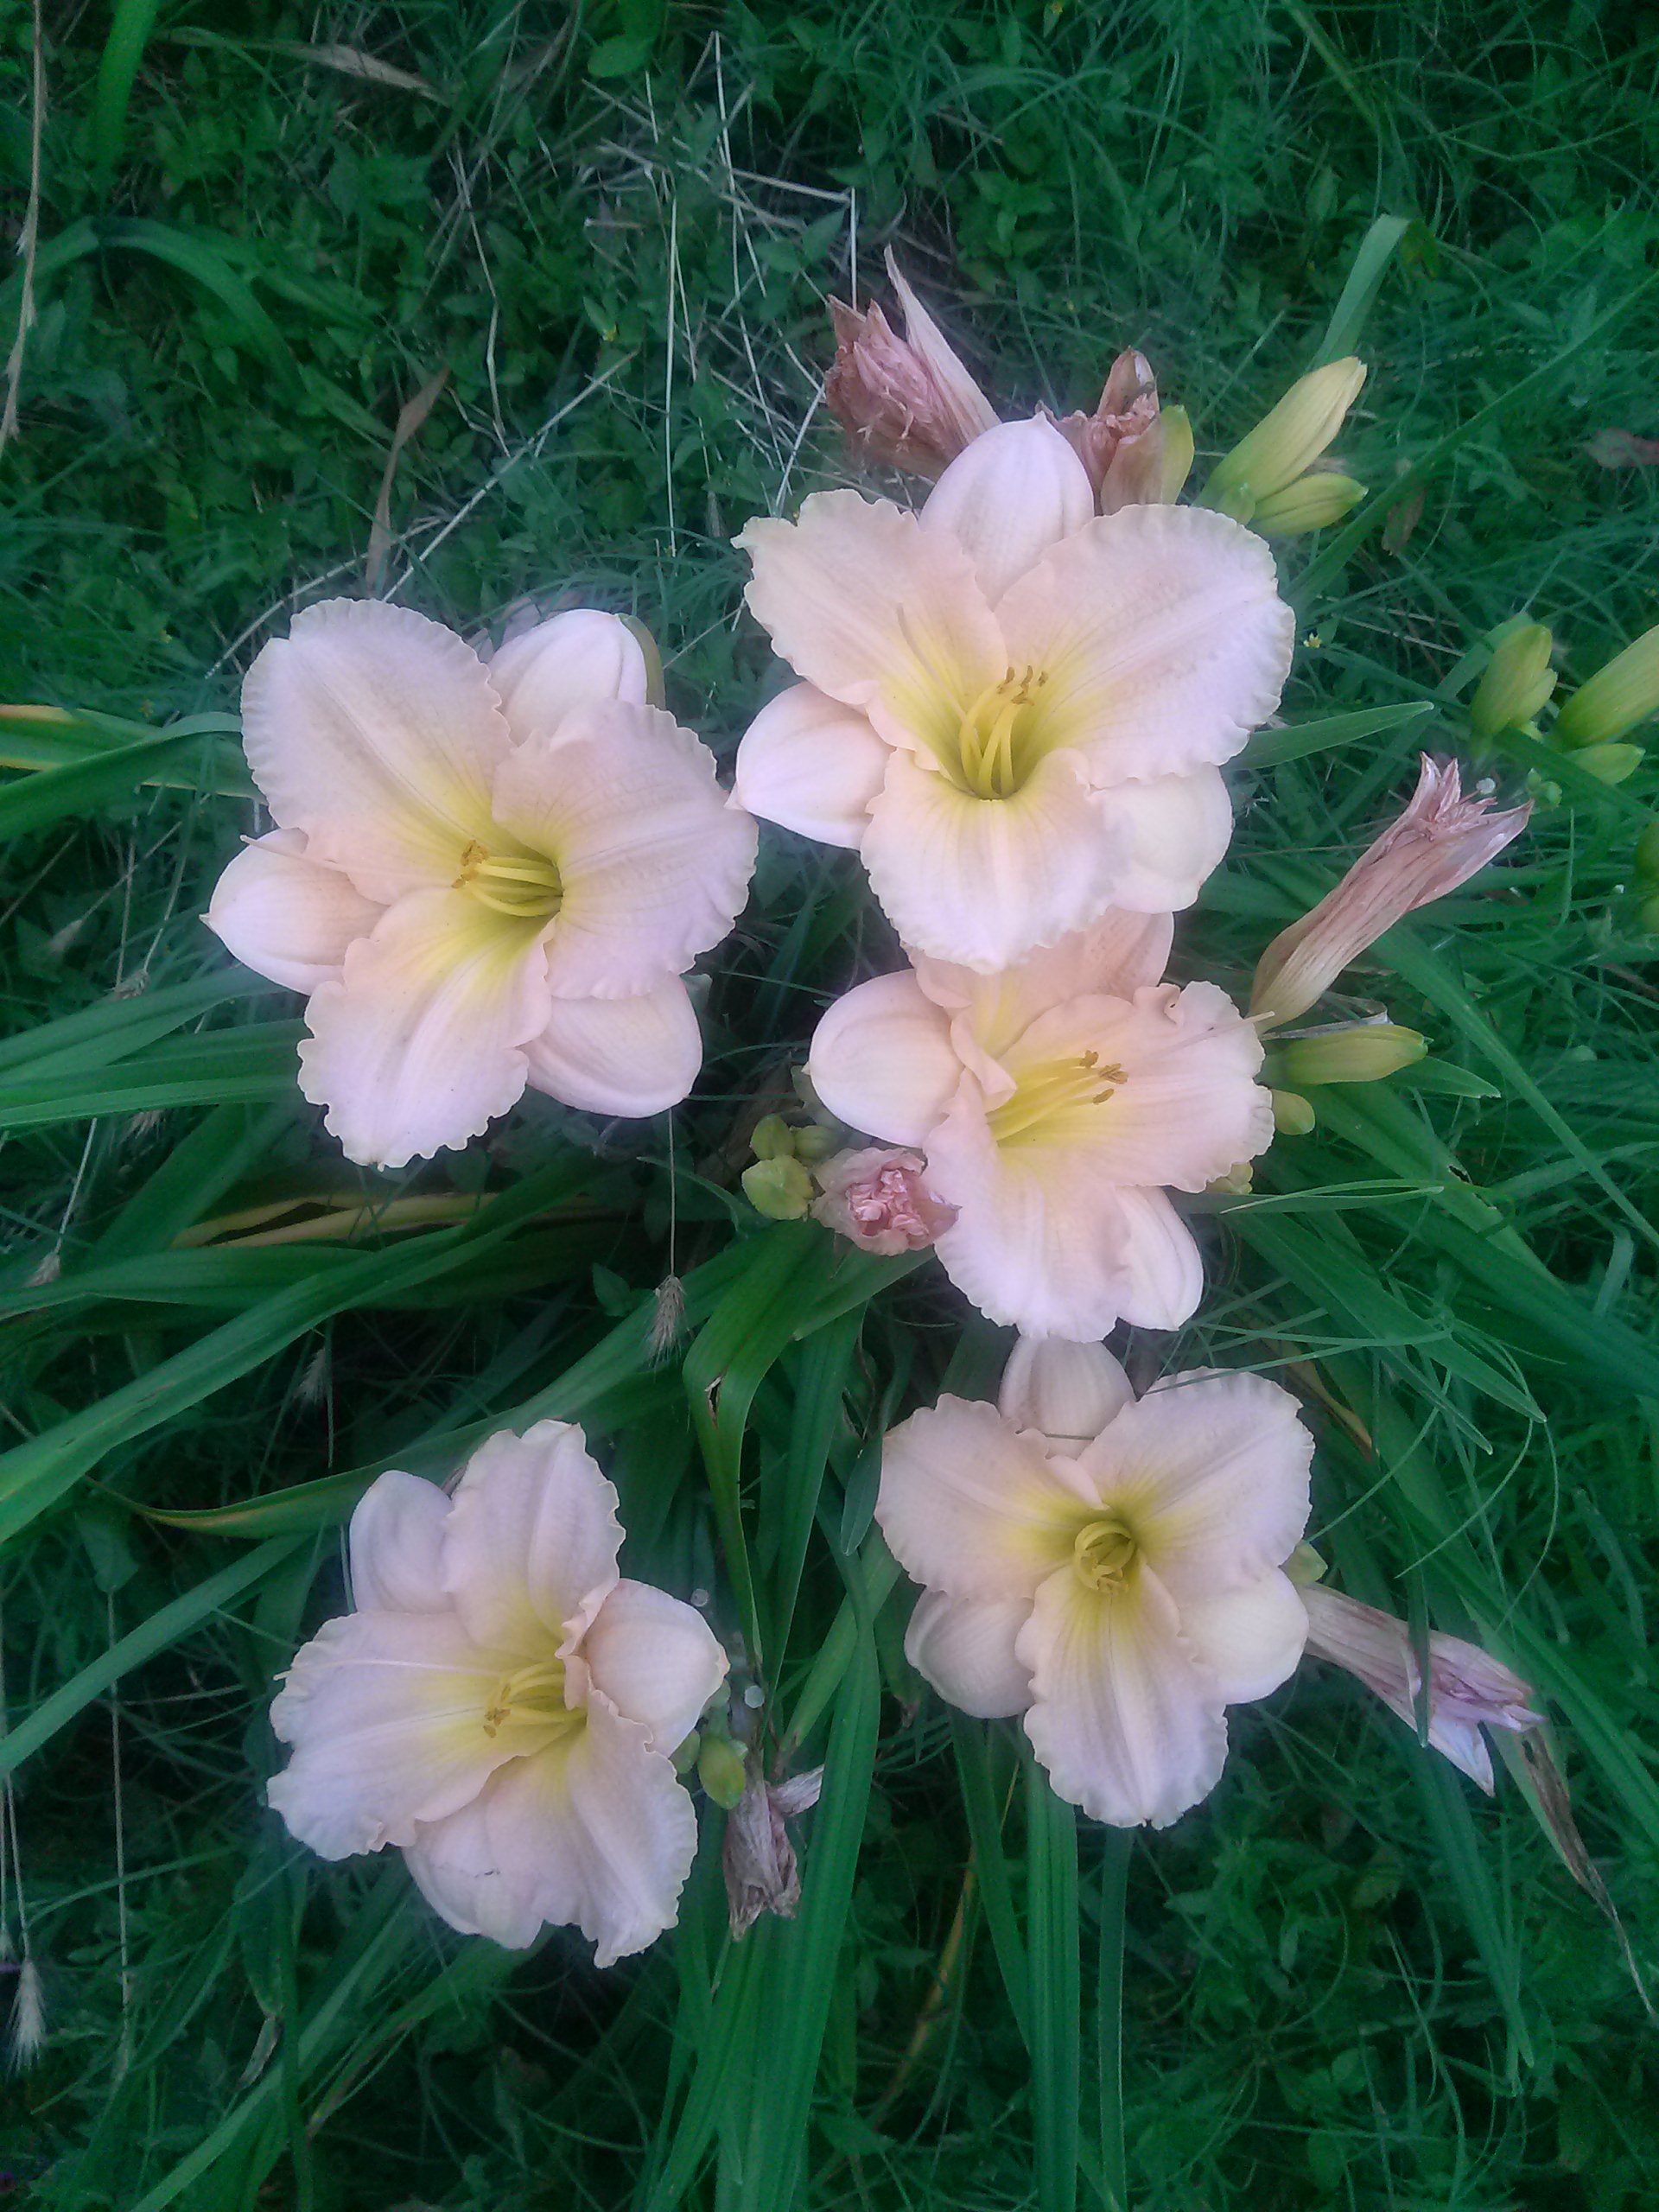
Daylily ‘Fading Love’
My perennial garden bed is primarily composed of daylily (hemerocallis spp.) varieties. My daylily garden began in 1995, when I mail-ordered the first set of plants. After accumulating about 12 varieties, I stopped purchasing and began maintaining those already in the garden.
Over time, the daylilies form clumps that become more and more crowded — resulting in plants that produce few flowers and partially die back.
Daylily clumps should be periodically divided each year—not less than once every 3 years (depending on location and amount of growth) and then re-planted for optimum flowering and overall plant health. Daylilies originated in Europe and are grown throughout the United States. Check the recommended USDA zones to ensure the best opportunity for successfully growing daylilies in your area.
Once established, daylilies provide color from early Spring through Summer (blooming pattern is different for each variety). After the flowering stops, leave daylilies in the ground to naturalize (continue to grow) and return the following year. Dormant varieties will freeze to the ground, evergreen varieties grow throughout the year (very slowly in cold weather periods) and semi-evergreen varieties die back in cold, but remain green in warmer climates.
I have all three growing types, so there is always some daylily foliage in the perennial bed–whether winters are harsh or mild (generally mild around here). NOTE: Temperature range will determine whether the daylily is evergreen, semi-evergreen or deciduous (dies back to the ground with freezing). An “evergreen” grown in warmer regions may be semi-evergreen or deciduous in cooler regions).

Neglected Daylily Garden
The picture to the left (taken October 27, 2013) shows how over-grown my daylily bed has become — excessively large clumps of daylilies form islands in the bermuda grass. This garden bed has been quite neglected over the past 3 years.
While it can be completely overwhelming to even think about dividing clumps and removing grass, now is the time–while the bermuda is still dormant (not pictured).The final clean up results are shown below (one final additional layer of mulch is needed) :
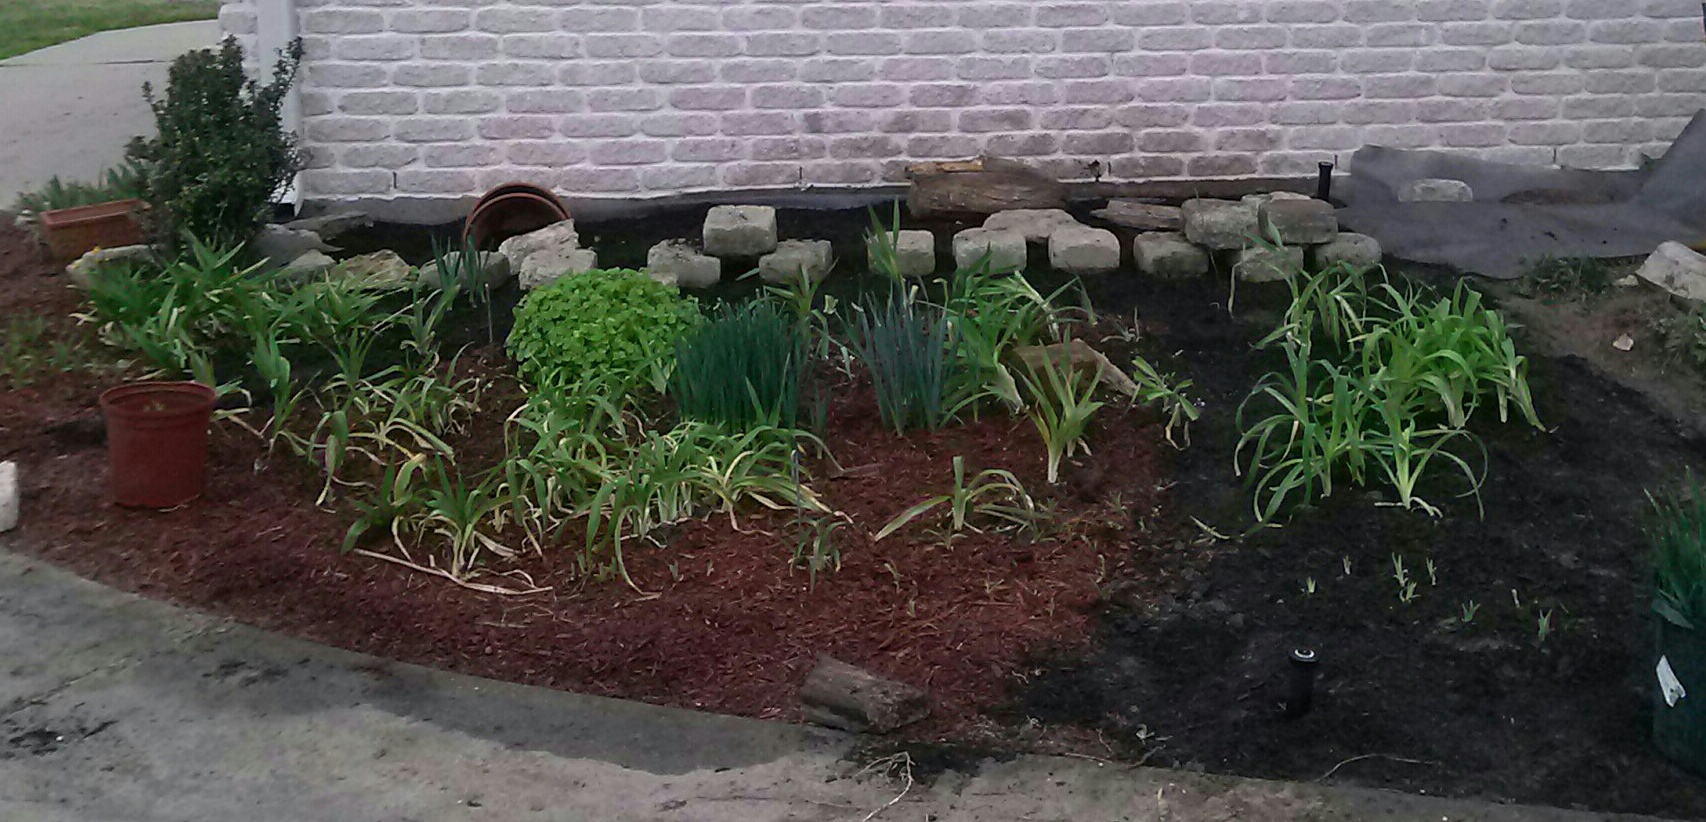
Perennials Garden with Daylilies, Feb 24, 2014
Thanks to a 7-day interval of Spring-like weather in mid-February, I worked 1 to 1 1/2 hours each evening, cleaning up one chunk of garden bed each day (be prepared for a mess that lasts while you are working).
Tools needed:
Standard sized tools
- large shovel —- digging up daylily, shamrock, and daffodil clumps
- plow hoe —- chopping, and pulling bermuda roots and stolons (triangular head, pointed at digging tip)
- four tine garden cultivator—– chopping and pulling grass and other weed roots down to 6 or 7 inches depth (looks like a four-tine fork, that is bent 90 degrees, like a hoe)
Hand tools
- spade —- dividing clumps, digging new holes for plants from divided clumps
- four tine hand-held garden cultivator —- chopping for any remaining bermuda grass stolons and roots
- leaf rake —- smoothing out and leveling the surface (soil first, then mulch)
Watch for more on this bed as we approach Summer — I am hoping for a banner year for these perennials!


Pingback: Perennial Bed is Ready for Spring! | The Art & Science of Gardening